Upload file
Within a directory, you can upload files to the server based on the directory settings if you have the appropriate authorization. The upload screen offers you various options for this.

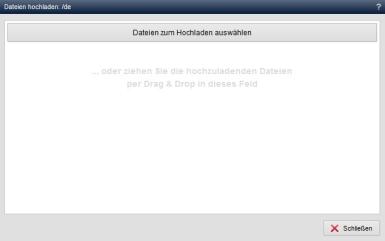
Click on the"Upload file" button to open a new window with the options for uploading files. Depending on the directory settings, you may be taken directly to file editing after uploading or you may not be allowed to upload files due to the file type or size.


Operation
'Select files to upload':
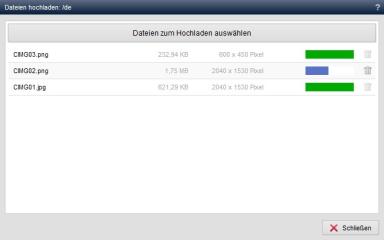
Click on the 'Select files to upload' button to open the file explorer on your local computer. Select the desired file(s) from your local system to include them as files to be uploaded.
You can also remove files to be uploaded from the list using the recycle bin icon ![]() .
.
A convenient option for uploading multiple files is available in the field below ("Drag & Drop").
'Drag & drop field':
By dragging the file(s) to be uploaded into the "... or drag ..." field, you can upload the corresponding file(s) quickly and easily to the relevant directory. To do this, select the desired file(s) from your local system. Then drag the selected file(s) into this field and release the mouse button. The file(s) will be uploaded to the directory in one step.
'Loading bar':
This column provides you with information about the status of the file(s) to be uploaded or uploaded. During the upload process, the progress is displayed as a blue bar. Successfully uploaded files are marked with a green bar. Failed uploads are marked with a red bar.
'Upload selected files':
By clicking on this button, the files listed in the 'Files to upload' field are uploaded to the directory.


