Installing and using Weblics
Step 1: Install additional Weblic®
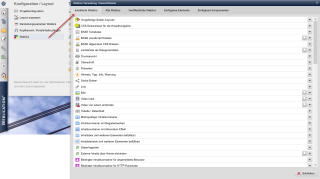
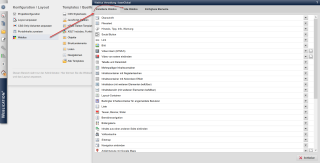
Open the Weblics® administration via the Weblication® panel under "Configuration / Layout" by clicking on the"Weblics" button. The"All Weblics" tab provides you with an overview of all Weblics® available for the installed project.
Step 2: Search for and install Weblic
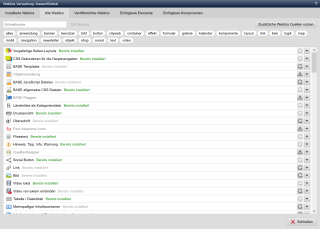
Select the desired Weblic® in the"All Weblics" tab.
For Weblics® that are already installed, you will be shown that this is"Already installed" (green font color: the Weblic® is current / grey font color: the Weblic® can be updated). For such a Weblic®, you will see an update symbol on the right-hand side of the line.
For Weblics® that are not yet in the project, you will see a download symbol on the right-hand side of the line to reinstall this Weblic®.
Start the installation by clicking on the corresponding symbol. Confirm the files to be installed and complete the installation.
Please refer to this developer article"Updating a Weblic®" when updating a Weblic®.
Step 3: Customize source texts
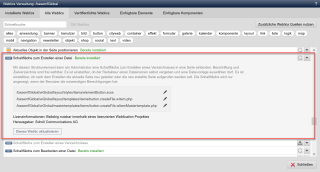
If desired, you can carry out the configuration and graphical adjustments in the Weblics® source code in the following display of the currently installed Weblics®.
Please note
The Weblics® are optimized in such a way that in most cases no changes to the templates are required, as many layout adjustments can be made via CSS.
Step 4: Integrate and configure Weblics®
The newly installed Weblic® is now directly available for use and can be integrated into any pages. Some Weblics® can still be customized in function and appearance, for this purpose special configuration masks are available directly in the website.
Please note
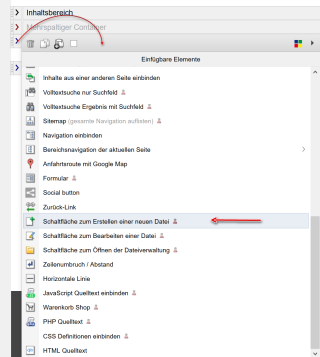
You can also download and install Weblics® directly from the structure editor.
Step 1: Install additional Weblic®
Open the Weblics® administration via the Weblication® panel under "Configuration / Layout" by clicking on the"Weblics" button. The"All Weblics" tab provides you with an overview of all Weblics® available for the installed project.
Step 2: Search for and install Weblic
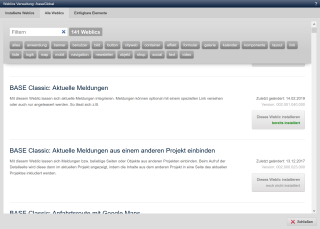
Select the desired Weblic® in the Weblics® portal and start the installation by clicking on the"Install this Weblic" button. Confirm the files to be installed and complete the installation.
When updating a Weblics®, please refer to this developer article"Updating a Weblics®".
Step 3: Customize source texts
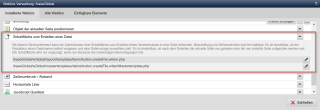
If desired, you can carry out the configuration and graphical adjustments in the Weblics® source code in the following display of the currently installed Weblics®.
Please note
The Weblics® are optimized in such a way that in most cases no changes to the templates are required, as many layout adjustments can be made via CSS (see also CSS-Only Reference).
Step 4: Integrate and configure Weblics®
The newly installed Weblic® is now directly available for use and can be integrated into any pages. Some Weblics® can still be customized in function and appearance, for this purpose special configuration masks are available directly in the website.

Please note
You can also download and install Weblics® directly from the structure editor.


